Run N8N for free - use Docker
This is a great technique for those interested in DevOps
Intro
In the past article I covered the simplest way to self-host n8n — via npm.
However, separating your n8n instance from your local files is a best practice; think of Docker as a computer within your computer. You may want to install files temporarily — Docker facilitates a plug and play approach.
Also, to make your workflows available 24/7, you need to a server-hosted Docker instance. Assuming you won’t keep your laptop / computer on 24/7, you’ll want to learn this step, prior to learning how to launch on platforms, such as AWS, GCP, Azure, Coolify, Digital Ocean, etc.
Installation is super simple. Here are the official docs.
Also here’s the YT Tutorial.
Steps
If you have downloaded Docker, go to Step 3
Download Docker from https://www.docker.com/ — pick the version that matches your computer
Install it > Open the Docker App on Desktop
Docker Hub > Search for n8n
Choose n8nio/n8n > Click “Pull”
Images > Click the “Run” button to start > Expand the dropdown menu of the Optional Setting
Ports: you can input whatever port you like, e.g. 5678, under the host port field > Run
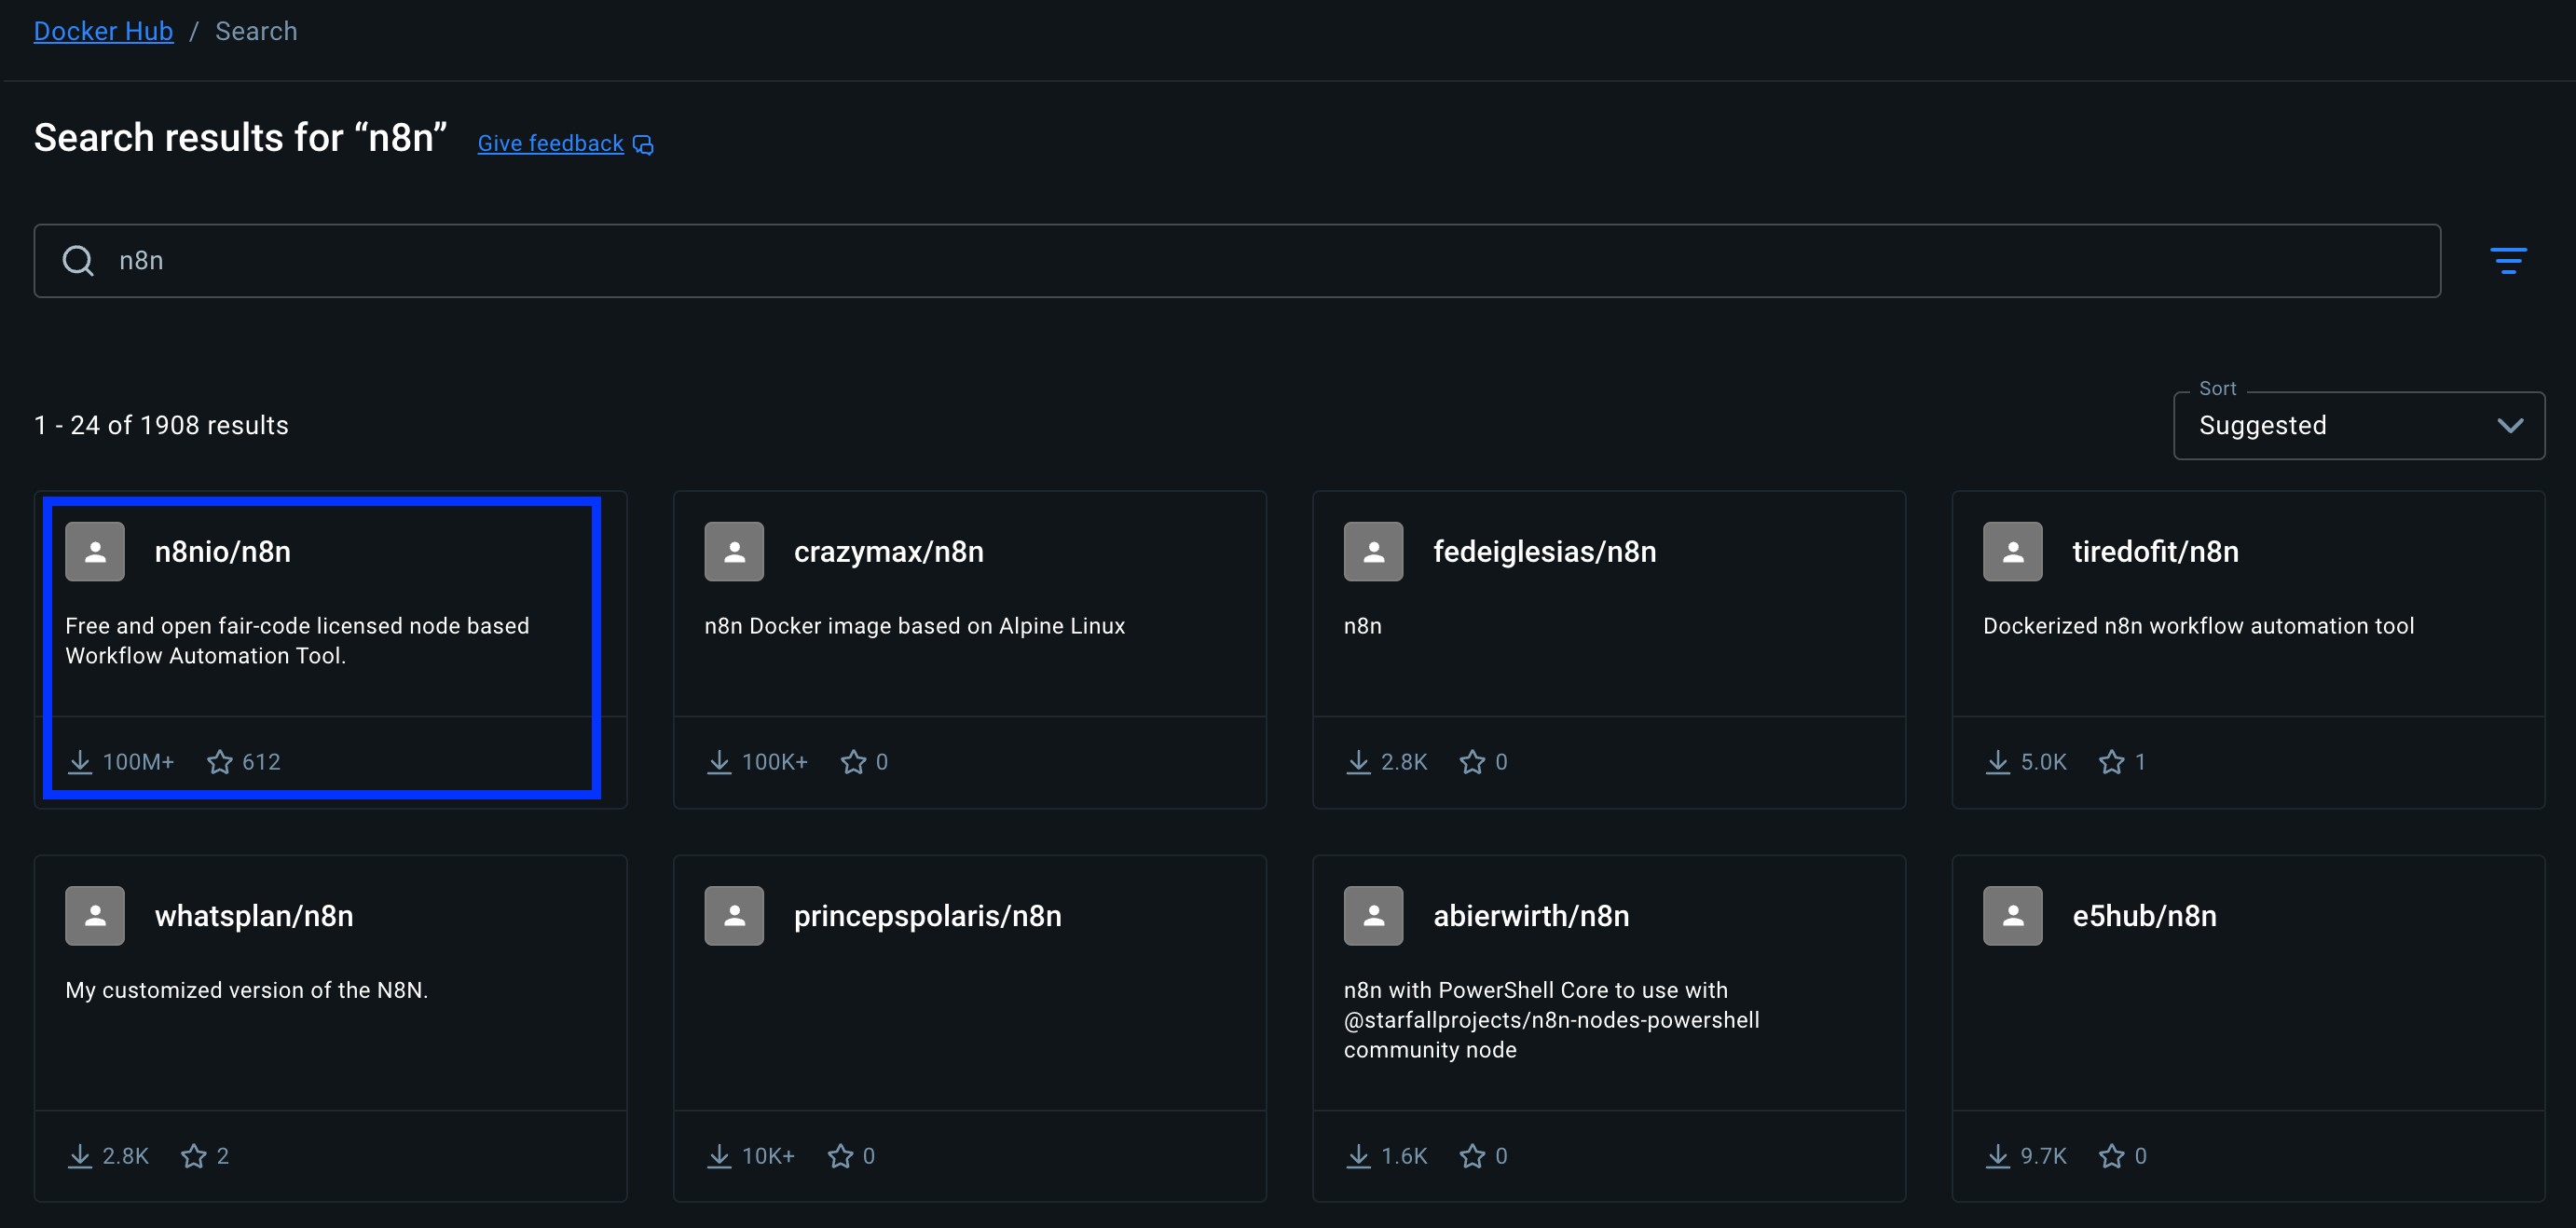
Docker Hub
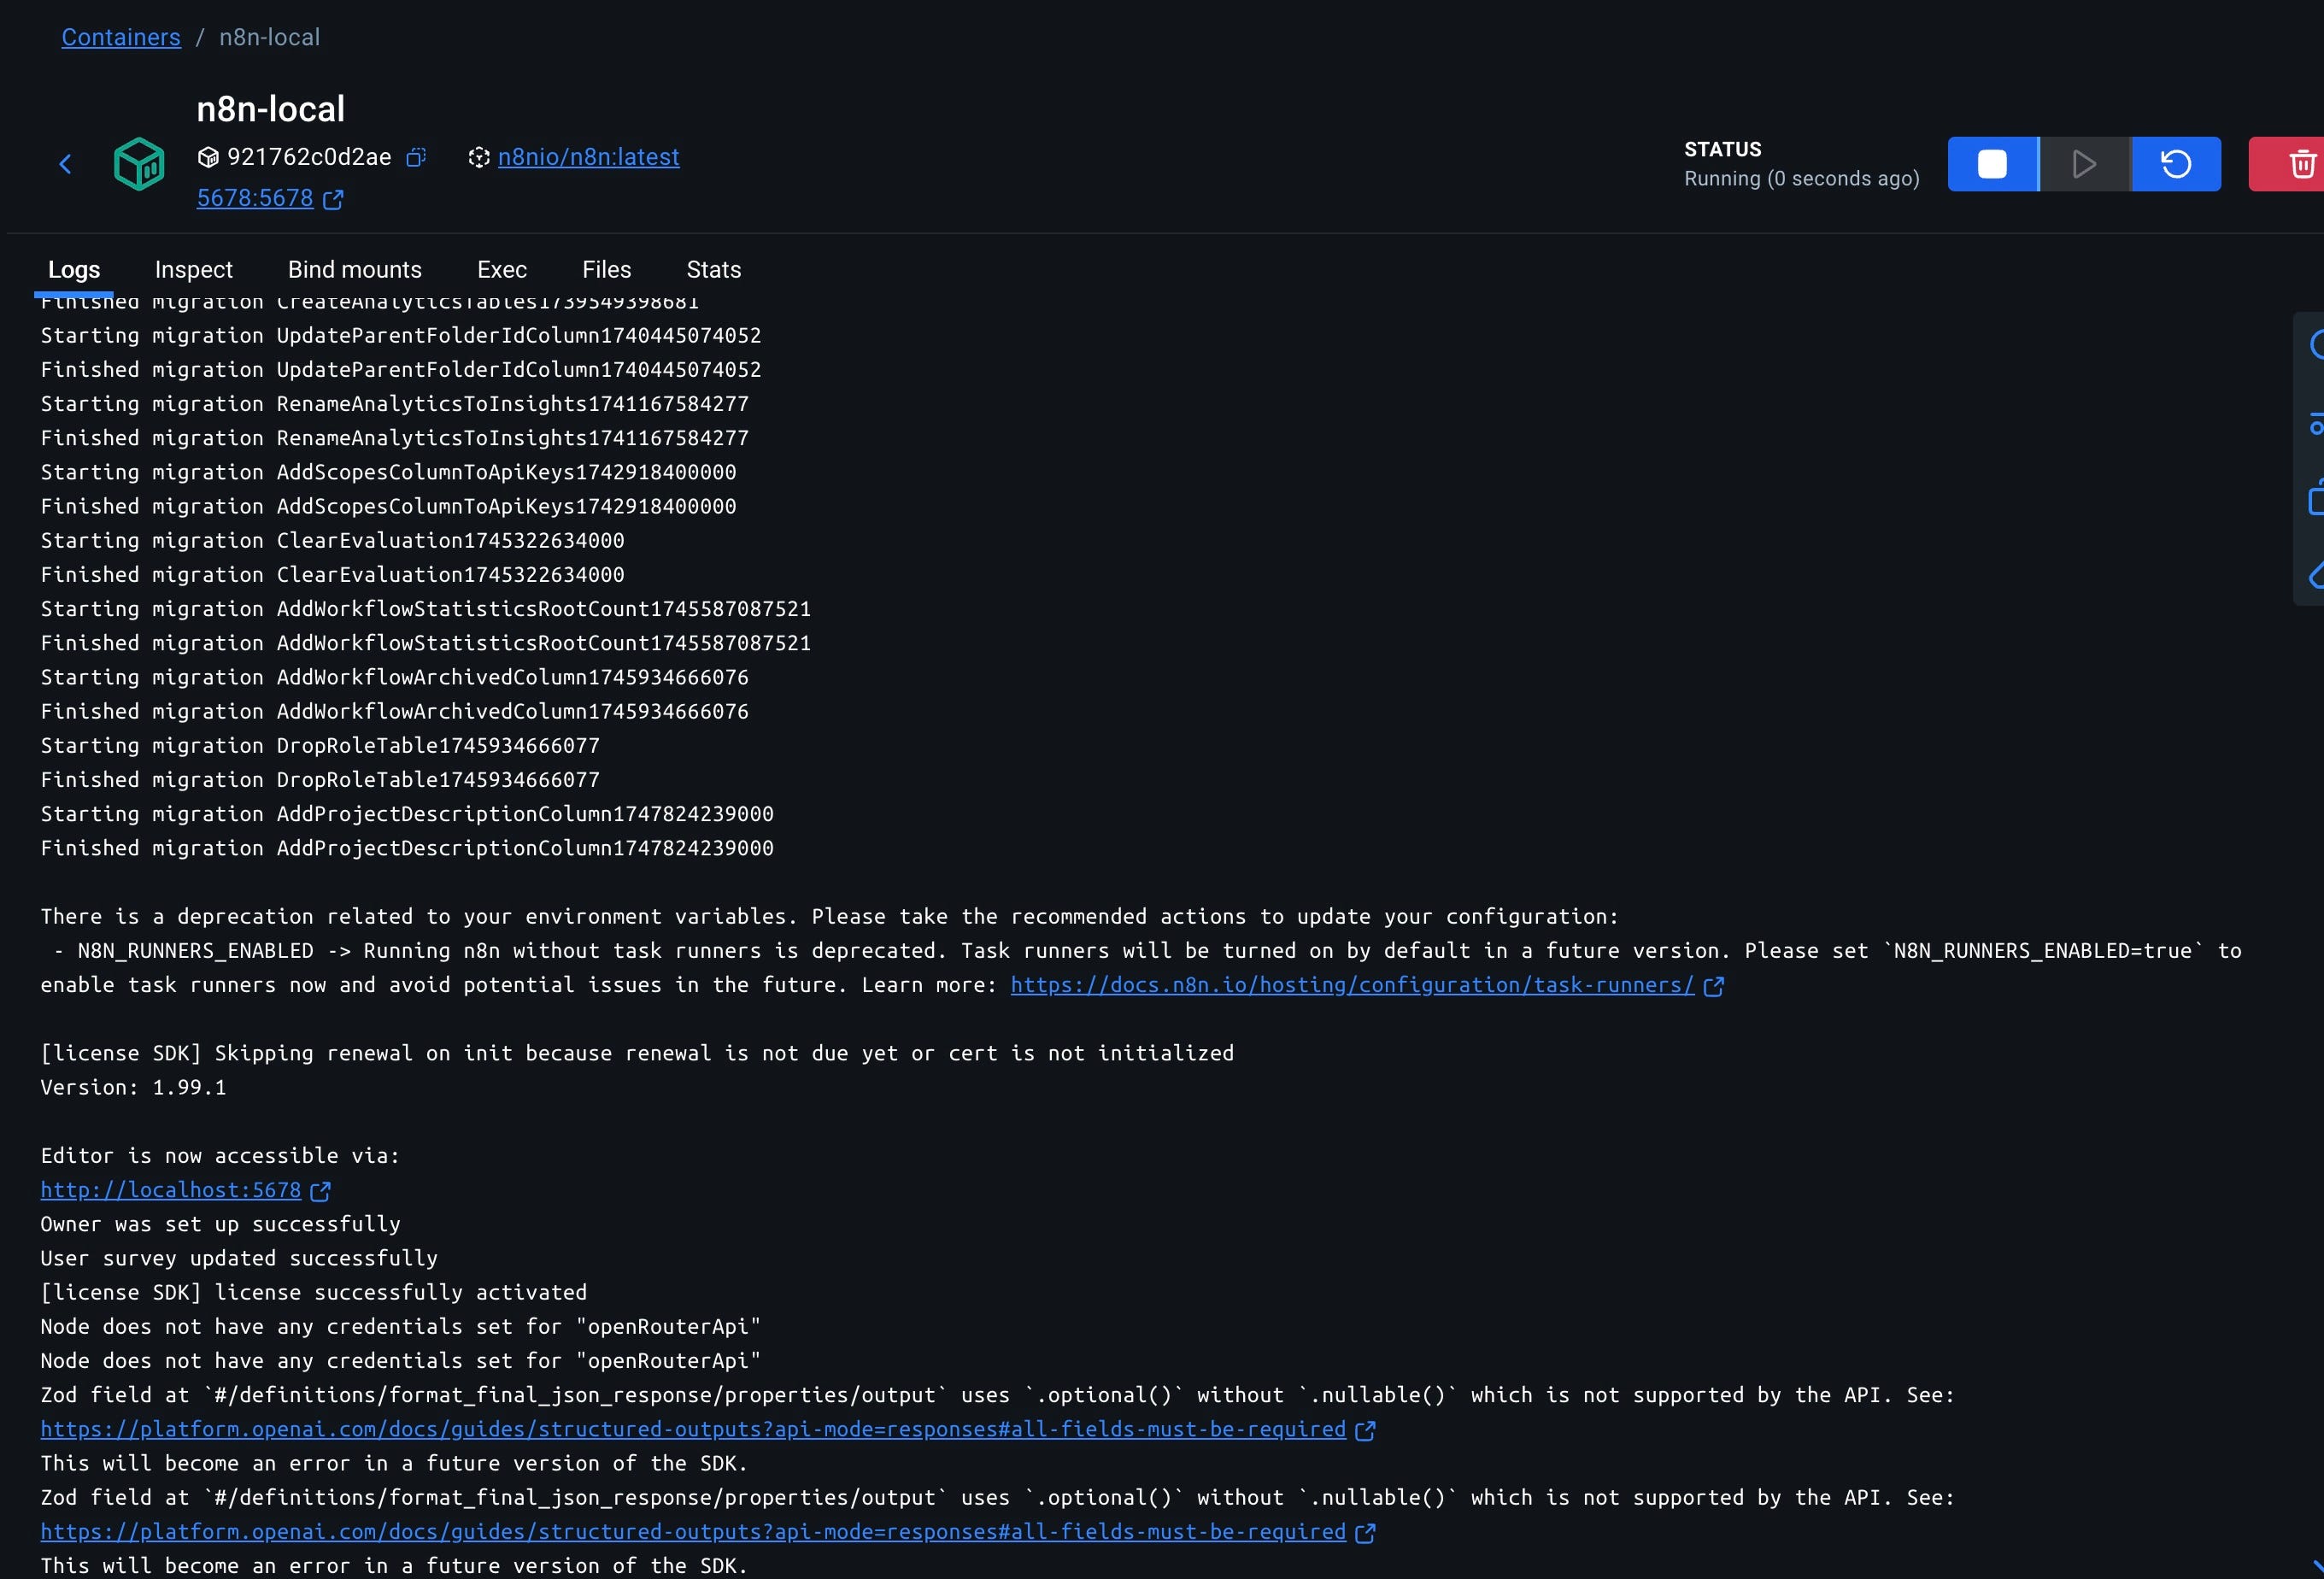
n8n Docker Image Running
Test a workflow
So does this work ? Use any workflow that have worked for you.
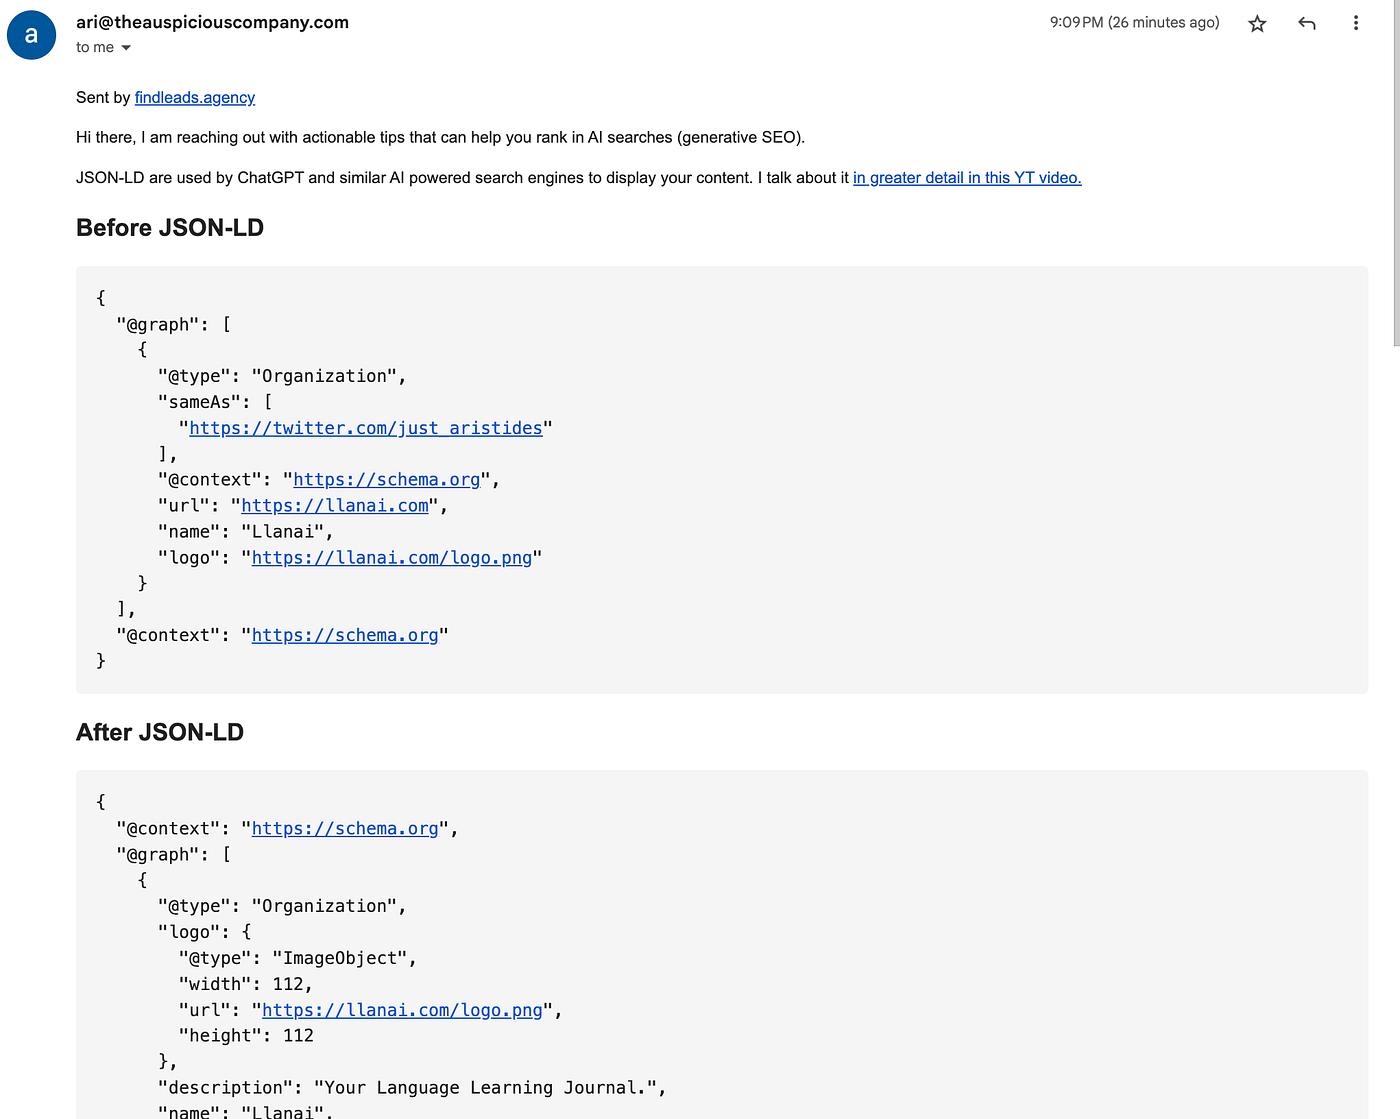
In my case, let’s test my JSON-LD generator workflow — it’s a necessary tool, if you want to improve your chances of appearing on AI searches! Full YT Tutorial walking you through the workflow.
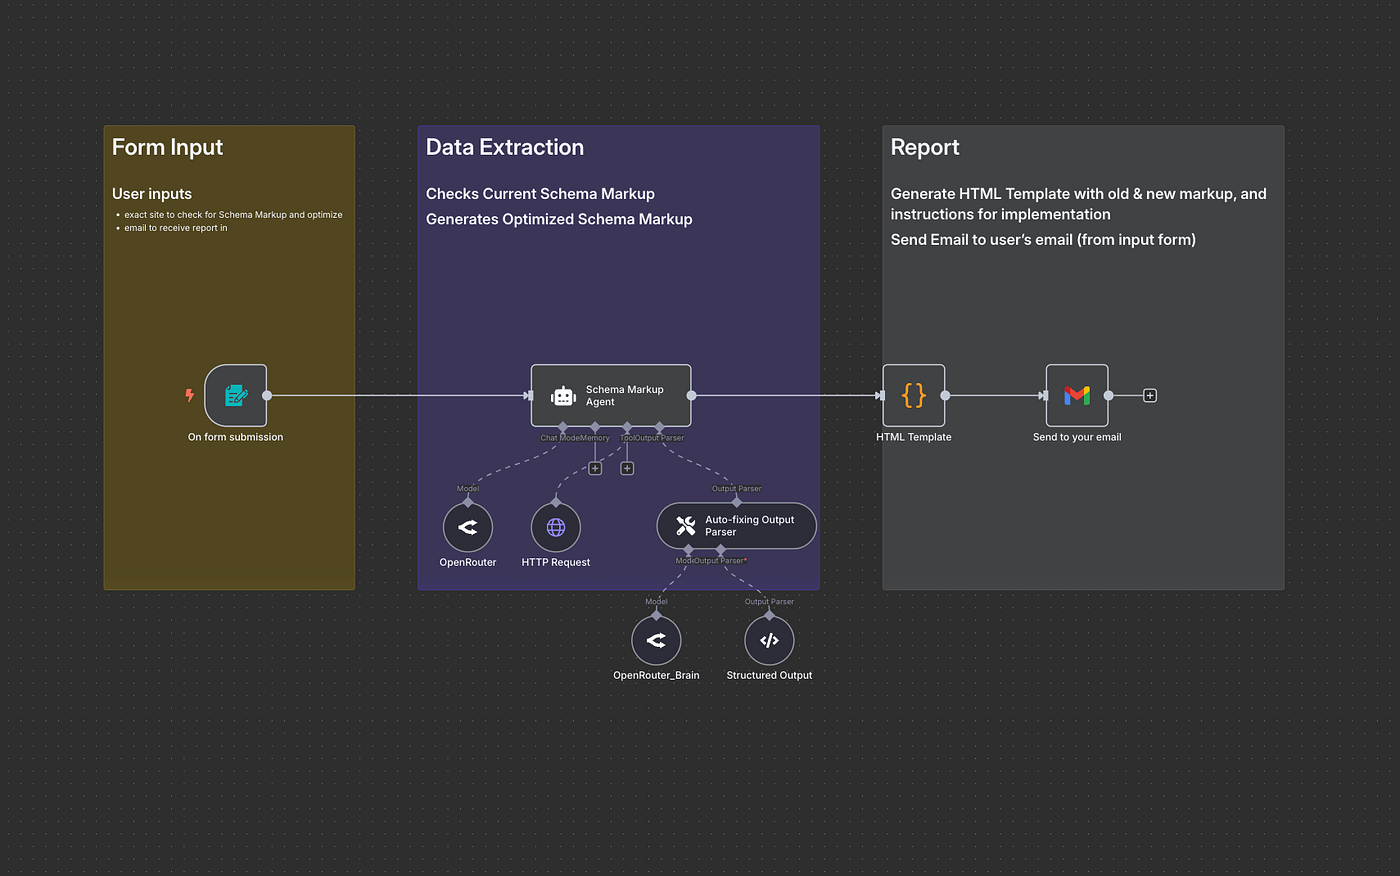
JSON-LD Schema Markup Generator workflow
I need to configure the OpenRouter creds and Google OAuth Client ID to authorize inference to LLM and sending emails, respectively.
Once I configured, it took me about 2 minutes to get the following JSON-LD schema recommendation for my language learning journal website, Llanai.
Conclusion
This is a great tool for those looking to manage costs, while also deploy self-hosted n8n instances for their clients.
Go make some money by automating the boring stuff!
Join Ari on Peerlist!
Join amazing folks like Ari and thousands of other builders on Peerlist.
2
12
1