Building your first Figma plugin with AI
Or let’s vibe-code our way into building your first Figma plugin.
Ever wanted to build a Figma plugin but don’t know how to code? What if I told you that you could create a fully functional plugin in under 15 minutes without writing a single line of code yourself?
I recently shared my secret recipe during our “Less Shit Show” at Aplo-a session where we showcase something cool we’ve built for others to watch and learn. Why not share it here so others can watch and learn, too? Here’s a proper guide to vibe-code and build your first plugin.
What is Vibe Coding?
In simpler terms, vibe coding is exactly what it sounds like: you give AI your idea, your vibe, your vision, and it generates all the code for you. You don’t need to worry about syntax, logic, or debugging. AI does the work, and you just copy-paste the code until you have a working solution.
Understanding Figma Plugins: The Basics
Before we dive into the AI magic, let’s quickly understand how Figma plugins work.
Think of it like ordering food:
You (the Plugin) want to order food
The waiter (API) takes your request to the kitchen
The chef (Figma) prepares your order and sends it back
In technical terms, Figma plugins work through a simple API structure where your plugin (frontend) communicates with Figma (backend) through predefined functions. The beauty is that Figma has simplified this with global objects where you can literally type figma.createRectangle() In a console and boom, you have a rectangle.
Every Figma plugin consists of three main files:
manifest.json — Contains plugin metadata (name, ID)
ui.html — The user interface (what users interact with)
code.ts — The backend logic (what actually happens in Figma)
Things You Need to Get Started
Before you can start vibe coding, you’ll need a few tools:
Node.js -The JavaScript runtime environment
Visual Studio Code -Your code editor
Figma Desktop App -For testing your plugins
Claude-Your AI assistant for vibe-coding
Figma API references -Documentation to understand what can be developed
I’m pretty sure there are plenty of tutorials on how to install and use these tools, so I won’t bore you with that here.
Creating Your First Plugin
Once you have the tools installed, here’s how to create a new plugin:
Open Figma Desktop App
Right-click in any file or on the canvas
Navigate to Plugins → Development → New Plugin
Give your plugin a name (e.g., “My First AI Plugin”)
Select “Custom UI” for most interactive plugins
Choose a folder location and click Save.
Gif on how to set up your dev environment
Setting Up Your Local Environment
Once you’ve saved your plugin, open the folder in VS Code. You should see all the plugin file structure we talked about earlier. Don’t worry about the red squiggly lines saying “Figma is not found”, we can easily fix that by running this command to install the Figma typings.
npm install --save-dev @figma/plugin-typingsNow it’s time to run the sample file that Figma provided as a template. Hit Cmd+Shift+B (Mac) or Ctrl+Shift+B (Windows/Linux) in VS Code and select “npm: watch” from the dropdown menu. This starts watch mode directly in VS Code.
Watch mode is crucial because it monitors your files for changes and automatically rebuilds your plugin in real-time. You’ll see output like “Found 0 errors. Watching for file changes…” which means it’s working correctly.
To test the sample plugin, go to Plugins → Development → Import plugin from manifest. Navigate to your plugin folder and select the manifest.json file. Your plugin will now appear in the Development section of your plugins menu, and you can click on it to open it like any other plugin.
You should see a plugin UI where you can enter the number of rectangles you want to create on the Figma canvas. If you can do this, voila! You’re halfway there. You now have a perfect local setup for your plugin. All you need now is a breakthrough idea that solves a real problem.
Building Something Real
Let’s walk through creating a simple plugin that solves a workplace problem we face during standup at Aplo. It may not be the ideal solution, but it works perfectly for this demo. You know that moment when everyone’s on the call and someone has to ask “So… who has a question today?” Yeah, let’s fix that.
I decided to build a Daily Standup Question Generator that would:
Auto-detect what day it is
Generate different types of questions based on the day
Randomly pick who starts the discussion
Add everything directly to the Figma canvas
Create a Figma plugin for a Daily Standup Question Generator which does

- Auto-detect current day and show it in the UI
- Work-related questions on Tuesday/Thursday (1 question)
- Single questions on Monday/Friday
- Company update questions on Wednesday
- Input field for team member names
- Generate button that creates question + random person on canvas
- Different colors for different question types

Include these files:
- manifest.json
- ui.html
- code.ts (TypeScript)

Requirements:
- Need to be in Cyberpunk Style.
I pasted this into Claude, and within seconds, it generated all three files. I literally didn’t write a single line of code just copy-pasted everything into VS Code.
The result? A working plugin that detects what day it is, generates relevant questions, and adds them to the canvas with the name of whoever needs to start the discussion.
Once your idea is ready, you need your AI secret sauce: the prompt. You can use this template with your idea
Create a Figma plugin for [YOUR IDEA HERE]

Include these files:
- manifest.json
- ui.html
- code.ts (TypeScript)

Requirements:
- [List your specific features]
- [Any styling preferences]
- [Interaction requirements]
Simply copy this prompt, add your specific idea, and paste it into Claude. Claude does the work by cooking up the code for your plugin.
Claude gives you detailed code that you just copy and paste into the respective files in VS Code. Frontend code goes into ui.html, logic goes into code.ts.
Once you’ve copy-pasted the code, head back to Figma to run the plugin. It should have all the features you asked for, thanks to AI.
Troubleshooting with AI
When you encounter errors (and you will), don’t panic. Simply:
Copy the error message
Paste it back to your AI assistant
Replace the problematic code with the fix
Test again
This iterative approach works because AI maintains context about the code it generated and can usually fix issues quickly.
Best Practices for Vibe Coding
Begin with basic functionality (MVP approach)
Add features incrementally
Test each addition before moving forward
Use version control (GitHub) and save working versions before major changes
Remember: AI can and will break working code when adding features.
The next steps are literally publishing the plugin in Figma Community, and Figma has detailed info written for you on how to do that.
Now that you’ve built your plugin, it’s time to add the “Developer” tag to your LinkedIn :P
What I’ve Built So Far
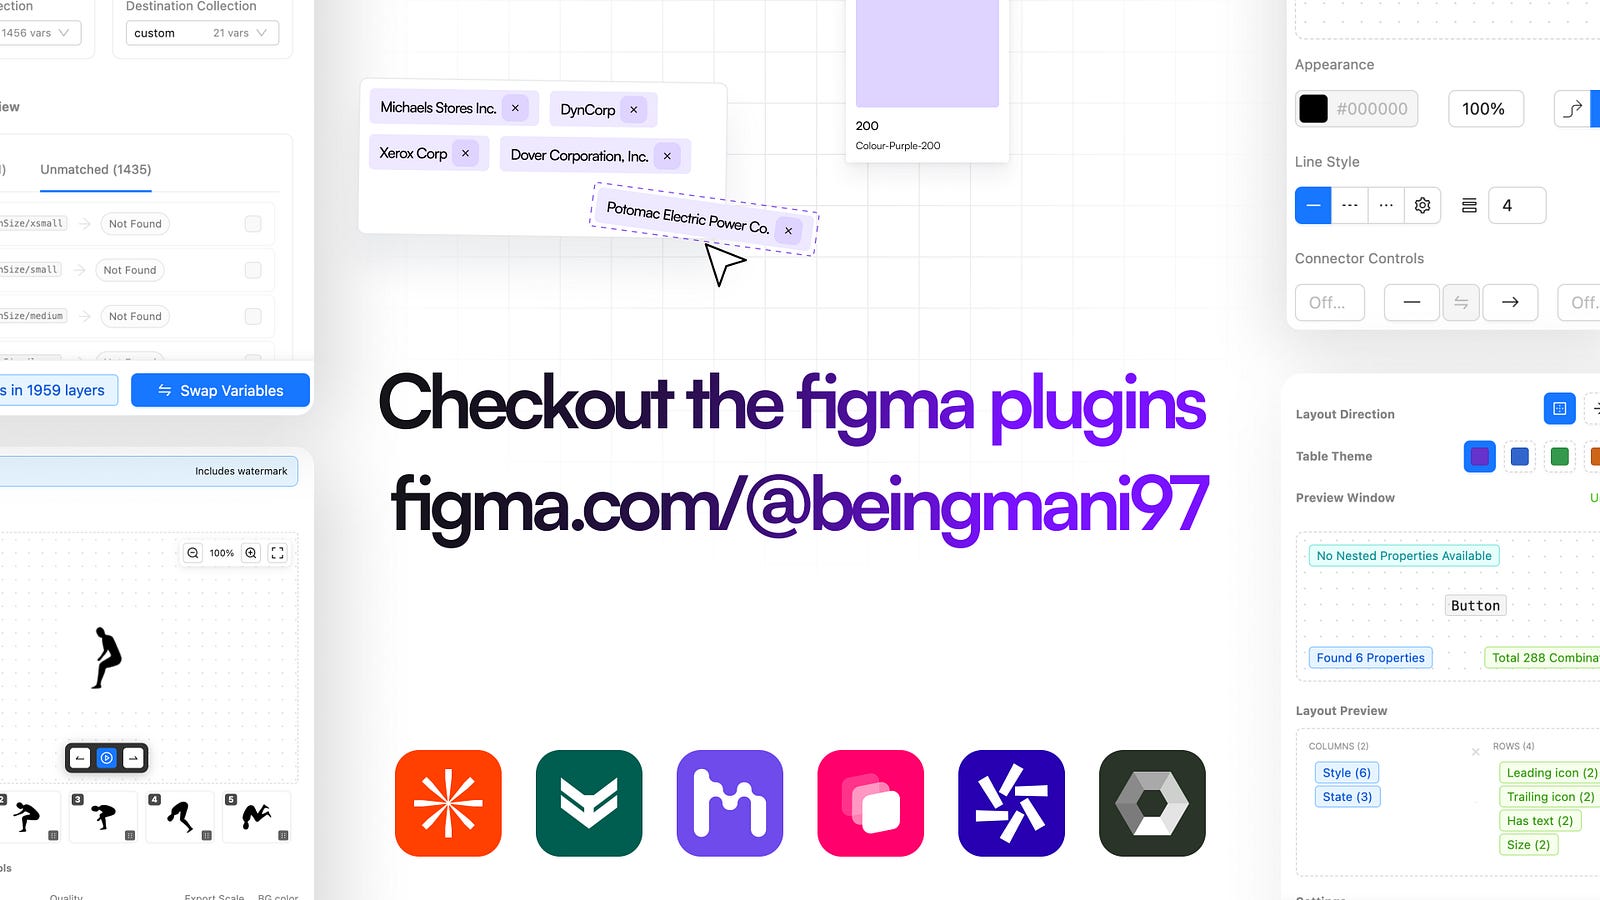
I’ve been on a bit of a plugin-building spree. Here are some of the tools I’ve created that you might find useful:
Navigate to the figma community to install em directly.
Flipbook Maker : Turn your Figma frames into animated flipbooks. Perfect for creating quick prototypes or just having fun with your designs. This was actually the first plugin I built entirely with AI, and it blew my mind how well it worked.
Instancer : Bulk generate instances from any component and see every possible variant combination in one organized table. It’s like having X-ray vision for your design system.
Snappattern : Transform literally anything into dynamic, repeating patterns. Select any shape, text, icon, or frame and turn it into stunning backgrounds or abstract art with just a few clicks.
If you end up building something cool with this approach, I’d love to see it! Drop me a line and show off what you’ve created. Who knows, maybe your plugin will solve a problem I didn’t even know I had.
Join Manivannan on Peerlist!
Join amazing folks like Manivannan and thousands of other builders on Peerlist.
0
1
0