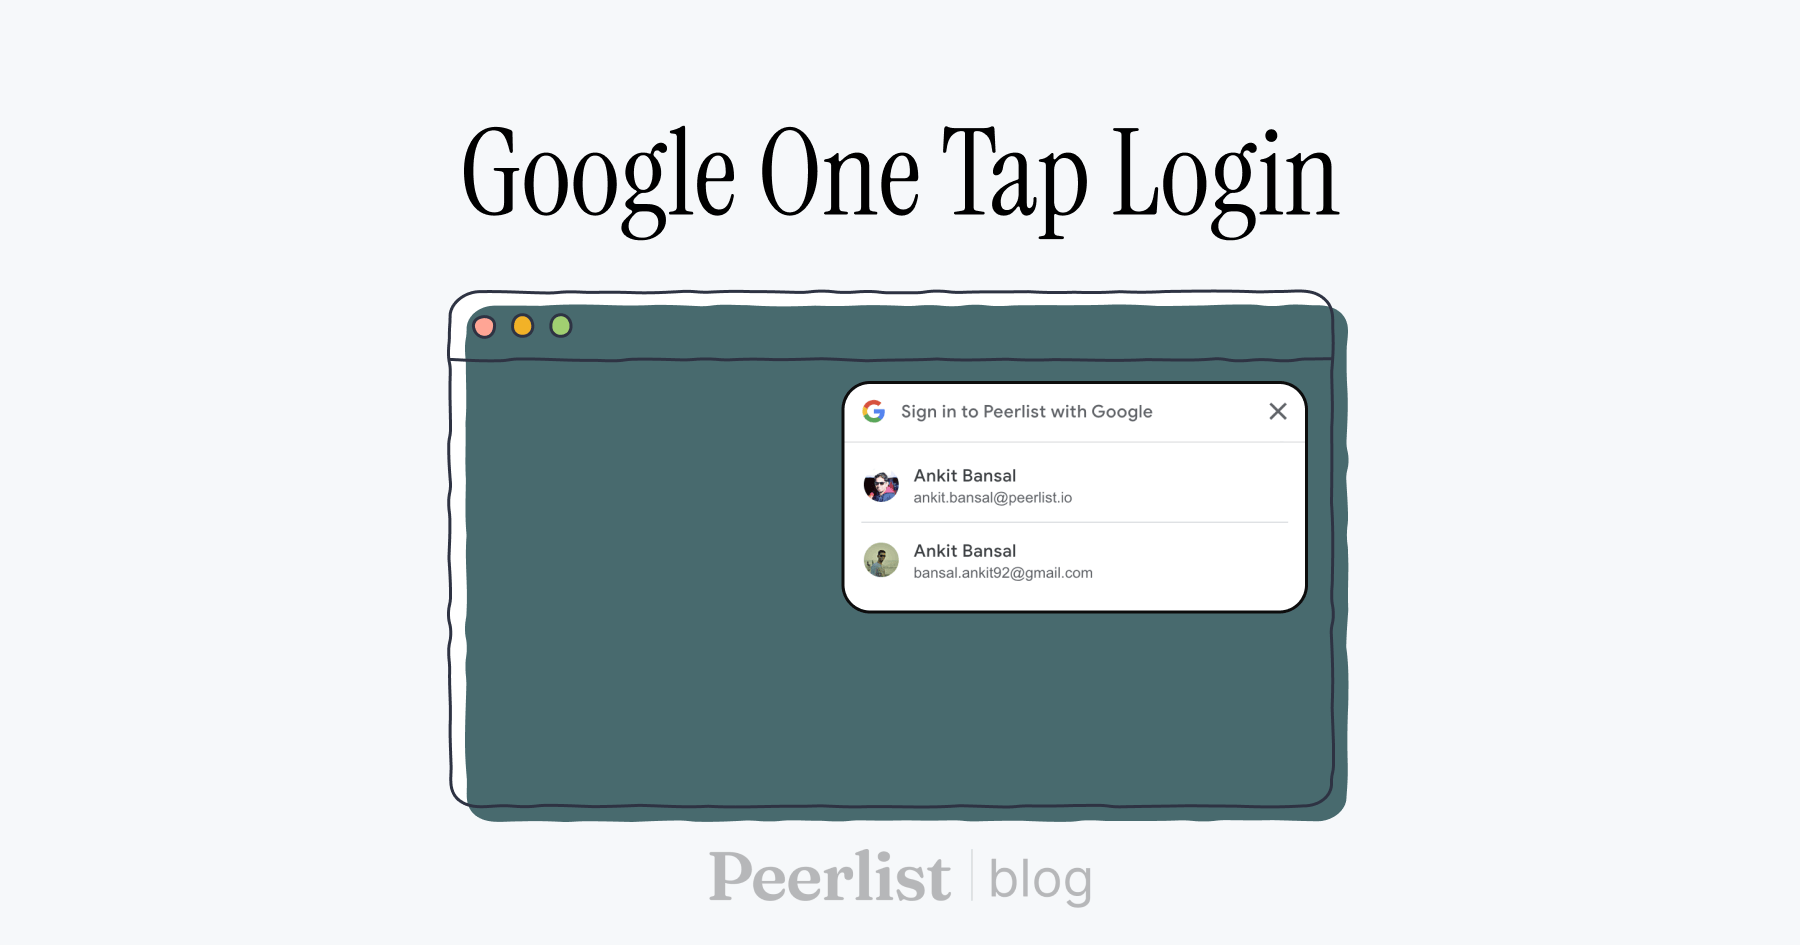
How to add Google One Tap Login in Nextjs App?
This article is about implementing Google one-tap login and rendering personalized sign in with google button in Nextjs without any external library.
Ankit Bansal
Sep 01, 2023 • 5 min read
We recently implemented Google one-tap login to improve Peerlist's onboarding experience. I thought this will be an excellent opportunity to share how you can do it too! I will try my best to explain how you can integrate Google YOLO one tap login in Nextjs without relying on any third-party libraries as well as rendering personalized sign in with google button.
What is Google YOLO?
Google YOLO (You Only Login Once) is an API from Google that aims to simplify the login process for users on the web. It allows users to quickly sign in to websites and apps using their Google account without having to type in their credentials every time. When a user visits a site that integrated the Google YOLO API, they would be presented with a one-tap option to sign in with their Google account if they were already logged into Google on that device.
The idea was to improve user experience by reducing the friction of the login process, especially on mobile devices where typing can be cumbersome. However, it's worth noting that Google has since deprecated the YOLO API and has introduced other authentication solutions. Always ensure you're using up-to-date and supported technologies when integrating authentication mechanisms into your applications.
Support libraries:
npm install --save google-auth-librarynpm install --save @types/google-one-tap// for typescript
Setup
- Create client id: https://developers.google.com/identity/gsi/web/guides/get-google-api-clientid
- Save that client id in the env file or in your notepad
.env file =>
NEXT_PUBLIC_GOOGLE_CLIENT_ID=<client-id-genrated-on-credentials-page> - Make sure you add
http://localhostwithout port, as authorized domain in google client creation page.
UI
-
Importing/Loading the Google library on the client.
- Add
<Script src="https://accounts.google.com/gsi/client" strategy="beforeInteractive" />in_document.js
import { Html, Head, Main, NextScript } from "next/document"; import Script from "next/script"; export default function Document() { return ( <Html lang="en"> <Head /> <body> <Main /> <NextScript /> <Script src="https://accounts.google.com/gsi/client" strategy="beforeInteractive" /> </body> </Html> ); } - Add
-
Creating
GoogleOneTapLogin.jsComponent in UI which we can use in multiple pages.import { useRouter } from 'next/router'; import { useEffect } from 'react'; import api from '../../utils/axios'; const googleOneTapLogin = (data) => { const path = `/auth/google/oneTapLogin`; return api.post(path, data); }; const GoogleOneTapLogin = () => { const router = useRouter(); useEffect(() => { // will show popup after two secs const timeout = setTimeout(() => oneTap(), 2000); return () => { clearTimeout(timeout); }; }, []); const oneTap = () => { const { google } = window; if (google) { google.accounts.id.initialize({ client_id: process.env.NEXT_PUBLIC_GOOGLE_CLIENT_ID, callback: async (response) => { // Here we call our Provider with the token provided by google call(response.credential); }, }); // Here we just console.log some error situations and reason why the google one tap // is not displayed. You may want to handle it depending on your application // google.accounts.id.prompt() // without listening to notification google.accounts.id.prompt((notification) => { console.log(notification); if (notification.isNotDisplayed()) { console.log( 'getNotDisplayedReason ::', notification.getNotDisplayedReason() ); } else if (notification.isSkippedMoment()) { console.log('getSkippedReason ::', notification.getSkippedReason()); } else if (notification.isDismissedMoment()) { console.log( 'getDismissedReason ::', notification.getDismissedReason() ); } }); } }; const call = async (token) => { try { const res = await googleOneTapLogin({ token, }); console.log(res); // add your logic to route to // redux dispatch router.push('/user'); } catch (error) { router.push('/login'); } }; return <div />; }; export default GoogleOneTapLogin; -
Usage of a component in any page
return (
   <div>
      ...
      <GoogleOneTapLogin />
      ...
   </div>
)
Backend API: Verify the Google ID token
-
UI calls this api
/auth/google/oneTapLogin -
FileName:
oneTapLogin.js -
Path:
/pages/api/v1/auth/google/oneTapLogin -
Ref: https://developers.google.com/identity/gsi/web/guides/verify-google-id-token
import { OAuth2Client } from 'google-auth-library';
import users from './users';
import logger from './logger';

// pino log
const log = logger.child({ module: 'google-onetap' });

const handler = async (req, resp) => {
    const { token } = req.body;

    if (!token) {
        log.error(`Google token not found.`);
        return resp.status(400).send({
            success: false,
            error: { message: 'Failed to login via google.' },
        });
    }

    try {
        const googleAuthClient = new OAuth2Client(
            process.env.NEXT_PUBLIC_GOOGLE_CLIENT_ID
        );

        const ticket = await googleAuthClient.verifyIdToken({
            idToken: token,
            audience: process.env.NEXT_PUBLIC_GOOGLE_CLIENT_ID,
        });

        const payload = ticket.getPayload();
        if (!payload) {
            log.error(`Error: User onetaplogin data not found`);
            return resp.status(400).send({
                success: false,
                error: errorMsg.USER_PROFILE.usersNotFound,
            });
        }

        // eslint-disable-next-line camelcase
        const { email, sub, name, hd, email_verified, picture: image } = payload;

        // eslint-disable-next-line camelcase
        if (!email_verified) {
            log.error(
                `Warn: The user email ${email} via onetaplogin is not verified.`
            );
        }

        const firstName = name.split(' ')[0];
        const lastName = name.split(' ')[1];

        const user = await users.createUser({
                firstName,
                lastName,
                email,
                profilePicture: image,
            },
        );

        if (user) {
            return resp.send({
                success: true,
                data: user,
            });
        }

        throw new Error(errorMsg.GLOBAL.wrong);
    } catch (error) {
        log.error(
            `ERROR: Error occured while logging in with google, ${
                error.message || error
            }`
        );
        resp.status(400).send({
            success: false,
            error: { message: error.message },
        });
    }
};

export default handler;
Rendering Signin with google button with personalized user info and profile picture
- Google Example: https://developers.google.com/identity/gsi/web/guides/personalized-button
- Example below.
- In
GoogleOneTapLogin.jsfile add below code
    // ...
    google.accounts.id.initialize({
  				client_id: process.env.NEXT_PUBLIC_GOOGLE_CLIENT_ID,
  				// auto_select: 'true',
  				callback: async (response) => {
  					// Here we call our Provider with the token provided by google
  					call(response.credential);
  				},
  			});
    // ... add the below code here after initialize method.
    const width = window.innerWidth > 400 ? 330 : window.innerWidth - 50;
    google.accounts.id.renderButton(
  				document.getElementById('google-sso-pl'), // div element id
  				{
  					size: 'large',
  					type: 'standard',
  					theme: 'outline',
  					width: `${width}px`,
  					text: 'continue_with',
  					logo_alignment: 'center',
  				} // customization attributes
  			);
- In login/signup form add below code, the personalized sign in with google button will be displayed. Make sure that one tap login component is called in parent component.
<div id="google-sso-pl" />
References:
- https://developers.google.com/identity/gsi/web/guides/display-google-one-tap
- https://developers.google.com/identity/gsi/web/guides/verify-google-id-token
- https://medium.com/geekculture/implementing-google-one-tap-sign-in-with-nextauth-in-2023-a06e21961c4b
- https://developers.google.com/identity/gsi/web/guides/features


