Sending Emails in Node.js with Gmail SMTP
— Beginner-Friendly Guide
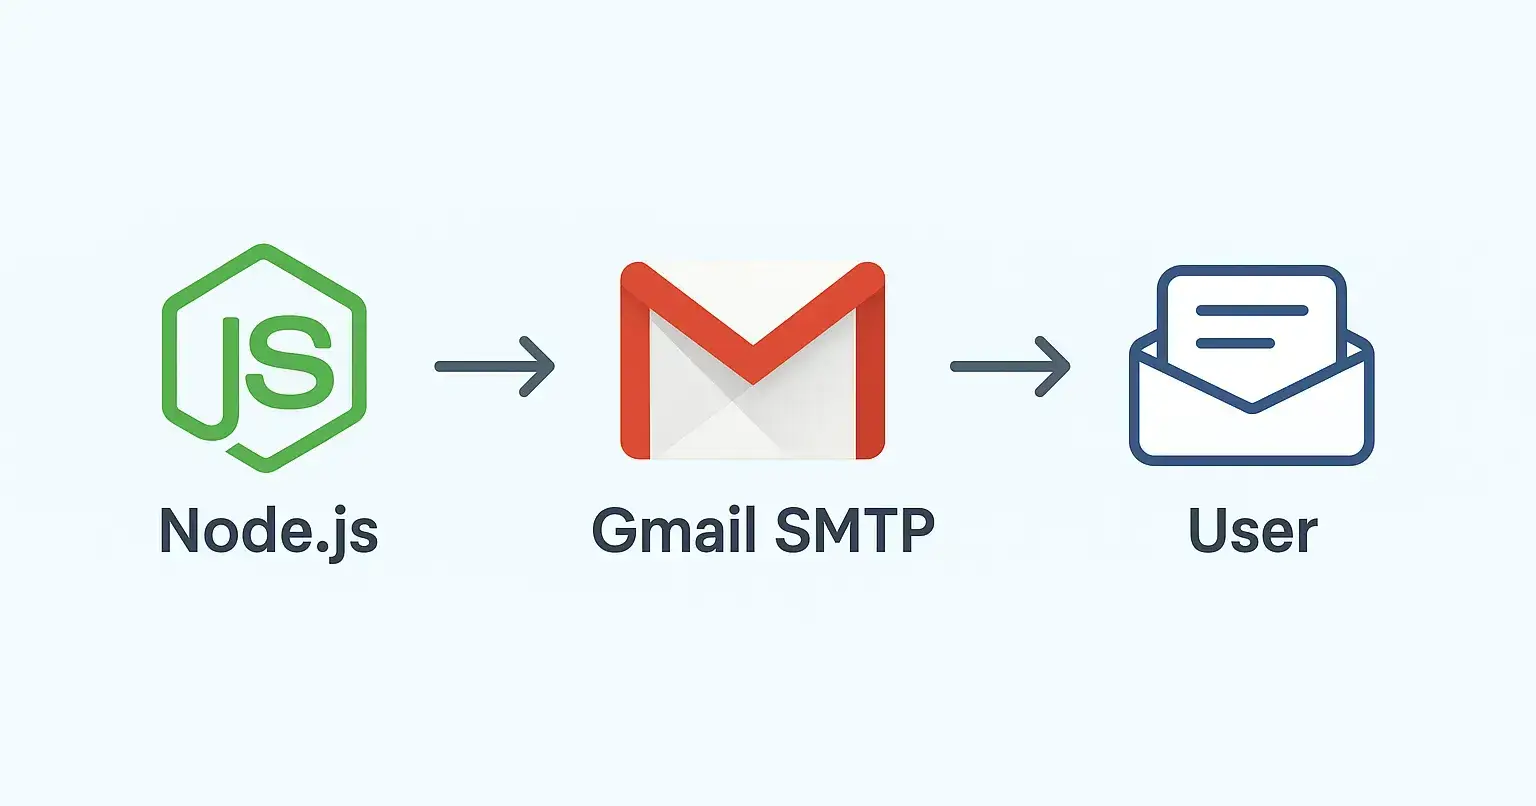
Email notifications are crucial in almost every web application, whether for user registration, password reset, or sending updates. If you’re working with Node.js, the easiest way to get started is by using Gmail’s SMTP server.
In this post, I’ll walk you through the setup step by step.
🔧 Step 1: Install Nodemailer
We’ll use the Nodemailer package to handle emails in Node.js.
npm install nodemailer
🔑 Step 2: Configure Gmail for SMTP
By default, Gmail blocks access to less secure apps. To enable SMTP:
Go to your Google Account > Security
Enable 2-Step Verification
Generate an App Password (instead of using your main Gmail password)
Copy that app password — we’ll use it in our Node.js app
💻 Step 3: Create a Mailer Script
Here’s a clean example:
import nodemailer from "nodemailer";

// Create reusable transporter
const transporter = nodemailer.createTransport({
 service: "gmail",
 auth: {
 user: process.env.GMAIL_USER, // your Gmail address
 pass: process.env.GMAIL_APP_PASSWORD, // your Gmail App password
 },
});

// Send email function
const sendMail = async () => {
 try {
 const info = await transporter.sendMail({
 from: `"My App" <${process.env.GMAIL_USER}>`,
 to: "[email protected]",
 subject: "Welcome to My App 🎉",
 text: "Hello! Thanks for signing up.",
 html: "<h2>Welcome 👋</h2><p>Thanks for joining us!</p>",
 });

 console.log("Email sent:", info.messageId);
 } catch (err) {
 console.error("Error sending email:", err);
 }
};

sendMail();
📌 Step 4: Use Environment Variables
Never hardcode credentials. Add them in your .env file:
[email protected]
GMAIL_APP_PASSWORD=your-app-password
And load with dotenv.
✅ Output
If all goes well, the user will receive the email 🎉.
🔥 Key Takeaways
Use Nodemailer for handling email in Node.js
Configure Gmail App Passwords for secure SMTP access
Always keep credentials in
.envStart small (like sending a welcome mail) and expand later
💡 Pro Tip: For production apps with higher email volume, consider switching to services like SendGrid, Postmark, or AWS SES for improved reliability.
Join Mahmud on Peerlist!
Join amazing folks like Mahmud and thousands of other builders on Peerlist.
2
10
1