Building a Stateless HTTP MCP Server (TypeScript) and Deploy to GCP
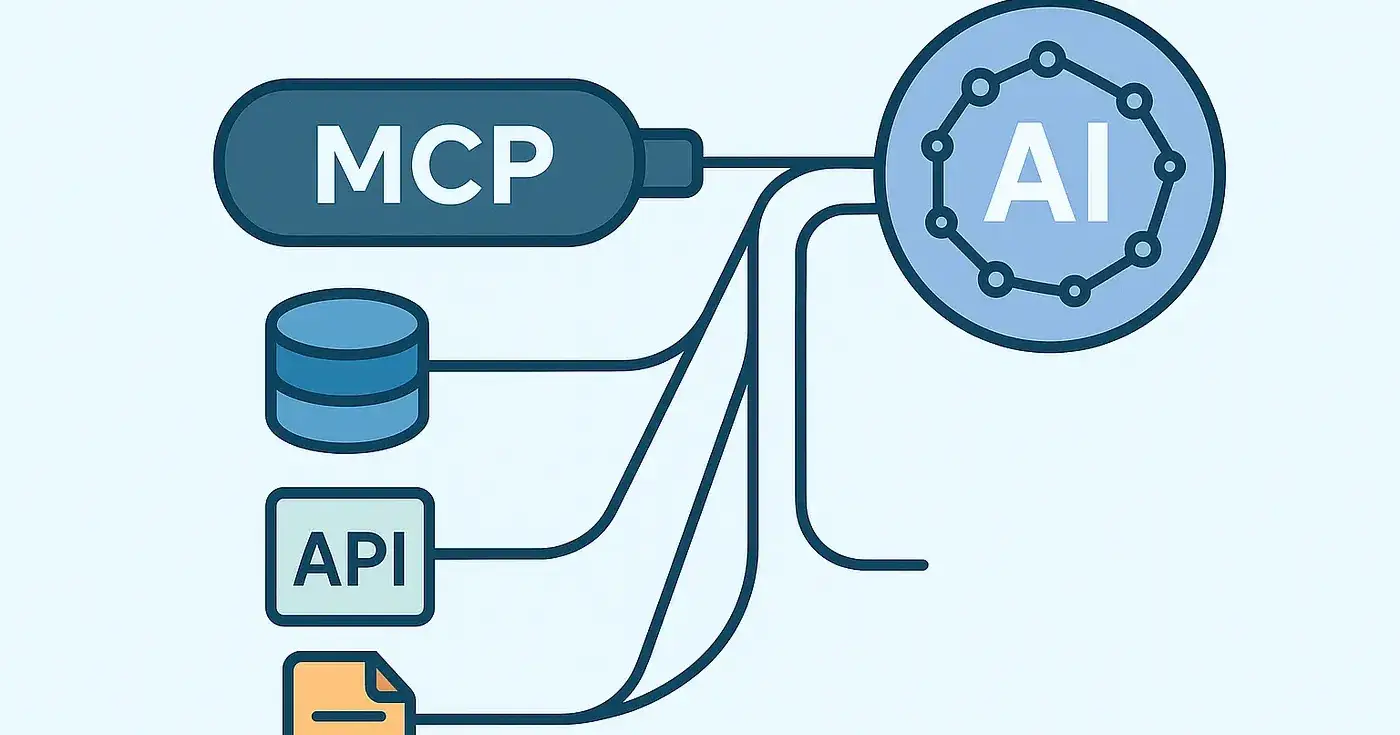
MCP is an open protocol that standardizes how applications provide context to LLMs. Think of MCP like a USB-C port for AI applications. Just as USB-C provides a standardized way to connect your devices to various peripherals and accessories, MCP provides a standardized way to connect AI models to different data sources and tools. — MCP
The Model Context Protocol (MCP) is a lightweight, language-agnostic specification for exposing custom “tools” or “functions” to large language models. An MCP server registers named tools with input schemas (often using Zod — TypeScript) and exposes them over a transport (stdio, HTTP/SSE, etc.). Clients like Claude Desktop can then discover and invoke these tools as part of a natural‐language conversation.
In this example, we’ll build a stateless HTTP MCP server in Bun. The server will define one tool that calls a third-party API (here, I’ll use Persana’s Contact API —Scale with AI Agents That Close Deals 24/7 ) and will be packaged in Docker for deployment to Google Cloud Run.
Let’s set up the project | Final Github Repo
mkdir mcp-example // to create new folder
cd mcp-example
Now we’ll initialise the project
bun init // to initalize project similar to npm init;
// choose "Blank" as a template
This will create below folder structure
mcp-example/
 ├── node_modules
 ├── .gitignore
 ├── bun.lock
 ├── node_modules
 ├── index.ts
 ├── package.json
 ├── README.md
 ├── tsconfig.json
Now let’s set up a basic Express server
Install the express package
bun add express ; bun add -D @types/expresss
// index.ts

import express from 'express';

const app = express();
const port = process.env.PORT || 8080;
app.use(express.json());

// Make sure to remove it once we setup /mcp route
app.get('/', (req, res) => {
 res.send('Hello MCP!');
});

app.listen(port, () => {
 console.log(`Listening on port ${port}`);
});
Let’s update the script to run the server locally. Add the below script into package.json file.
 "scripts": {
 "start": "bun run index.ts"
 "dev": "bun --hot run index.ts", // this will handle hot reloading
 },
Now run bun run dev ; this will start local server on port 8080. To test this out, open another terminal call curl localhost:8080 , it should return Hello MCP! in your terminal.
Now let’s setup MCP Server. We’ll use TypeScript SDK. To install MCP TypeScript SDK run bun add @modelcontextprotocol/sdk . Here I am using version 1.11.1. Before starting let’s install axios, we’ll use this to call Persana’s API.
import { McpServer } from '@modelcontextprotocol/sdk/server/mcp.js';
import { StreamableHTTPServerTransport } from '@modelcontextprotocol/sdk/server/streamableHttp.js';
Import zod and McpServer, StreamableHTTPServerTransport . Apart from Streamble HTTP Server transport, we have standard input output transport (StdioServerTransport) as well.
Now, let’s create an MCP Server instance and the tool ( Functions that can be called by the LLM (with user approval) ),
// rest of express code

const server = new McpServer({
 name: 'mcp-example',
 version: '1.0.0',
 capabilities: { resources: {}, tools: {} },
});

server.tool(/* Here we'll use our custom tool to fetch user profile details */)

// https://github.com/modelcontextprotocol/typescript-sdk?tab=readme-ov-file#without-session-management-stateless
 app.post('/mcp', async (req: any, res: any) => {
 try {
 const transport = new StreamableHTTPServerTransport({
 sessionIdGenerator: undefined,
 });

 res.on('close', () => {
 transport.close();
 });

 // here we're connecting the transport with MCP server
 await server.connect(transport);
 await transport.handleRequest(req, res, req.body);
 } catch (error: any) {
 console.error('Error handling MCP request:', error);
 if (!res.headersSent) {
 res.status(500).json({
 jsonrpc: '2.0',
 error: { code: -32603, message: 'Internal server error' },
 id: null,
 });
 }
 }
 });
// Since we're using Stateless mode, we'll throw error from other methods
 const methodNotAllowed = (_req: any, res: any) =>
 res.status(405).json({
 jsonrpc: '2.0',
 error: { code: -32000, message: 'Method not allowed.' },
 id: null,
 });
 app.get('/mcp', methodNotAllowed);
 app.delete('/mcp', methodNotAllowed);

// rest of express code
We will create a custom tool using Persana’s profile details API, which allows us to access a user's full profile details. To do this, we will need an API key, which can be obtained from platform.persana.ai. If you don’t have an account yet, you can easily create one. With Persana, we can extract profiles and company data, as well as set up automation for various tasks such as tracking recent jobs, generating or triggering emails, finding phone numbers, and much more. Feel free to check it out!
Let’s create a new file(getProfile.ts ) inside (tools ) folder.
import type { ToolCallback } from '@modelcontextprotocol/sdk/server/mcp.js';
import type { ZodRawShape } from 'zod';
import { z } from 'zod';
import axios from 'axios';
import type { CallToolResult } from '@modelcontextprotocol/sdk/types.js';

const BASE_URL = 'https://prod.api.persana.ai/api/v1';
const apiKey = Bun.env.API_KEY;

const getProfileRawShape: ZodRawShape = {
 profileUrl: z
 .string()
 .url()
 .describe('Full profile URL, e.g. https://l*******.com/in/johndoe'),
};

const getProfileHandler: ToolCallback<typeof getProfileRawShape> = async ({
 profileUrl,
}): Promise<CallToolResult> => {
 try {
 Bun.env.API_KEY = apiKey; // We'll replace this later with dynamic API Key
 const response = await axios.get(`${BASE_URL}/profile`, {
 params: { profile_url: profileUrl },
 headers: {
 'Content-Type': 'application/json',
 'x-api-key': process.env.API_KEY,
 },
 });
 return {
 content: [{ type: 'text', text: JSON.stringify(response.data, null, 2) }],
 };
 } catch (err: any) {
 return {
 content: [
 { type: 'text', text: `Failed to fetch profile: ${err.message}` },
 ],
 };
 }
};

export const getProfileTool = {
 name: 'get-profile', // Here we can't use any space, so better to follow snake case format
 description: 'Fetch a user profile by Profile URL',
 schema: getProfileRawShape,
 handler: getProfileHandler,
};
We need an API_KEY for this project. For now, we'll use a .env file to store it, but later we will obtain it from the user who will be using our custom MCP Server. Bun automatically reads from the .env file, so there is no need to install any additional packages.
// .env
API_KEY=''
Now import getProfileTool into the index.ts file.
import { getProfileTool } from './tools/getProfile';

// now replace server.tool
server.tool(
 getProfileTool.name,
 getProfileTool.description,
 getProfileTool.schema,
 getProfileTool.handler,
);
Now we can start our server and connect with the MCP Client. Here, we will use the Claude desktop as the MCP Client; we also have other MCP Clients — https://modelcontextprotocol.io/clients.
After downloading and setting up Claude Desktop, we need to enable the Developer Tool to support a custom MCP server. To do this, click on the “Help” option in the top toolbar (please note that on other platforms, this option may be located in a different place). Then, select “Enable Developer Mode.” This action will restart the application.

Now, let’s set up the MCP Server. Go to the “settings page” of Claude Desktop, and then click on the “Edit Config” button.

This will open the “Claude” folder. From there, open the claude_desktop_config.json file in any editor (I will use Zed here).
{
 "mcpServers": {
 "mcp-example": {
 "command": "npx",
 "args": [
 "mcp-remote@latest",
 "http://localhost:8080/mcp"
 ]
 }
 }
 }
After saving the file (claude_desktop_config.json), restart the Claude Desktop app. To check if your MCP server has connected successfully, go to Settings -> Developer Options or use the Search and Tools option.

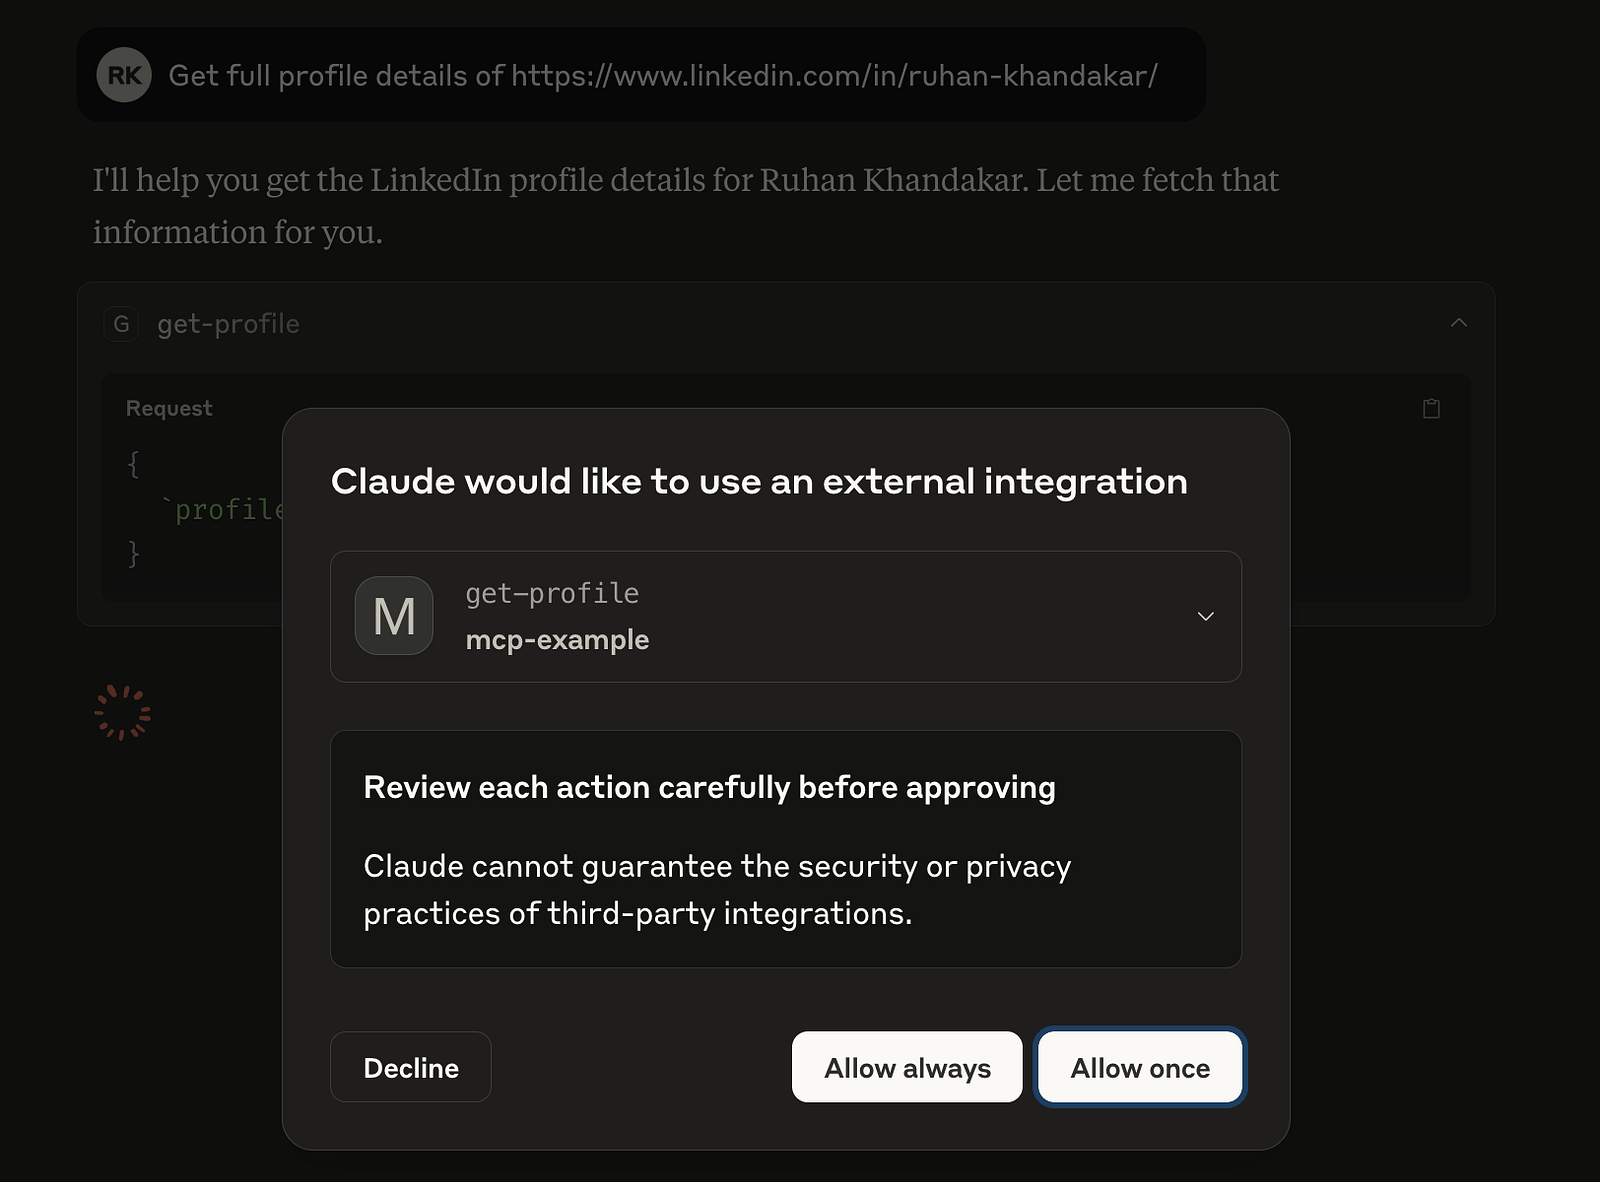
We are now ready to use our own MCP tool. I will be writing prompts like this one: “Get full profile details of https://www.l********.com/**/ruhan-khandakar/.”
Please note that on the first use, Claude Desktop will ask for permission for each tool. Here, I will choose “Allow always.” This will enable us to retrieve the entire profile details.
Before we move on to the Deployment section, let’s configure the MCP server to use the user’s API key instead of our own. To do this, we need to update the MCP configuration and some code.
// new MCP config
{
 "mcpServers": {
 "mcp-example": {
 "command": "npx",
 "args": [
 "mcp-remote@latest",
 "http://localhost:8080/mcp",
 "--header",
 "Authorization: ${API_KEY}"
 ],
 "env": {
 "API_KEY": "API_KEY"
 }
 }
 }
}
In this step, we will pass the API key in the header, which we will access from our code.
app.post('/mcp', async (req: any, res: any) => {
 try {
 // API KEY Access
 const apiKey = req.get('Authorization');
 if (!apiKey) {
 return res.status(401).json({
 jsonrpc: '2.0',
 error: { code: -32000, message: 'Unauthorized' },
 id: null,
 });
 }
 Bun.env.API_KEY = apiKey;

 const transport = new StreamableHTTPServerTransport({
 sessionIdGenerator: undefined,
 });

 res.on('close', () => {
 transport.close();
 });

 await server.connect(transport);
 await transport.handleRequest(req, res, req.body);
 } catch (error: any) {
 console.error('Error handling MCP request:', error);
 if (!res.headersSent) {
 res.status(500).json({
 jsonrpc: '2.0',
 error: { code: -32603, message: 'Internal server error' },
 id: null,
 });
 }
 }
});
🎉 Done, now we are ready to deploy our own MCP server. Create a repository (I’ll use GitHub) and push the changes.
Now, let’s set up Dockerfile. Create Dockerfileand .dockerignore files in the root folder. Commit and push the changes into the remote repository.
// Dockerfile

FROM oven/bun:1.2.13 AS deps
WORKDIR /app

COPY package.json ./

RUN bun install

FROM oven/bun:1.2.13-alpine AS release
WORKDIR /app
ENV NODE_ENV=production

COPY --from=deps /app/node_modules ./node_modules

COPY . .

EXPOSE 3000

USER bun

CMD ["bun", "run", "start"]
// .dockerignore
node_modulesNow we’ll set up Google Cloud. First, go to https://console.cloud.google.com/. You can either create a new project or use an existing one. For this example, I will create a new project called “Test Project.” You can watch the Deployment video instead of below steps.
Click on “
Cloud Run” from the left sidebar.Select “
Connect Repo” or “Create Service.”Choose the “
GitHub (Continuously deploy from a repository (source or function))” option.Click on “
Set up with Cloud Build.” (You may be prompted to enable billing; just follow the steps provided.)Connect your GitHub account and select the repository you created earlier.
After selecting the repository, click “
Next” and choose “Dockerfile” as the “Build type,” then click “Save.”For now, disable the Authentication checkbox, and set “
Auto scaling” to1In the “Service scaling” section. The remaining settings can stay at their default values.Finally, click on “
Create.” Once the process is complete, you can use the newly deployed URL (https://my-mcp-96737429685.us-central1.run.app).
Additionally, you can connect your own domain through the “Networking” tab. Once your domain is connected, remember to replace the deployed URL in the MCP config.
{
 "mcpServers": {
 "mcp-example": {
 "command": "npx",
 "args": [
 "mcp-remote@latest",
 "https://my-mcp-96737429685.us-central1.run.app/mcp",
 "--header",
 "Authorization: ${API_KEY}"
 ],
 "env": {
 "API_KEY": "API_KEY"
 }
 }
 }
}
By following these steps, you now have a fully stateless MCP server in Bun with a custom “get-profile” tool, secure API-key handling via HTTP headers, and seamless local testing. Containerising with Docker and deploying to Google Cloud Run ensures auto-scaling, zero-downtime updates, and continuous delivery.
Extend your MCP server with more tools — CRMs, analytics, or internal microservices — to empower LLMs with standardised, secure access to any data source. Happy building! 🎈✨
X(twitter) | Linkedin | GitHub
Join Ruhan on Peerlist!
Join amazing folks like Ruhan and thousands of other builders on Peerlist.
0
9
0