The right way to rotate JWTs for secure authentication using Axios
In this article I'll cover my favorite approach of rotating JWT tokens using axios interceptors
In today’s fast-paced digital world, securing web applications is non-negotiable. At the heart of many modern authentication systems lies JSON Web Tokens (JWTs). But simply using JWTs isn’t enough; true security comes from managing them correctly, a process known as token rotation. This blog will show you how to do it right, detailing the roles of access and refresh tokens, the mechanics of secure rotation, and how modern tools can streamline the whole process.
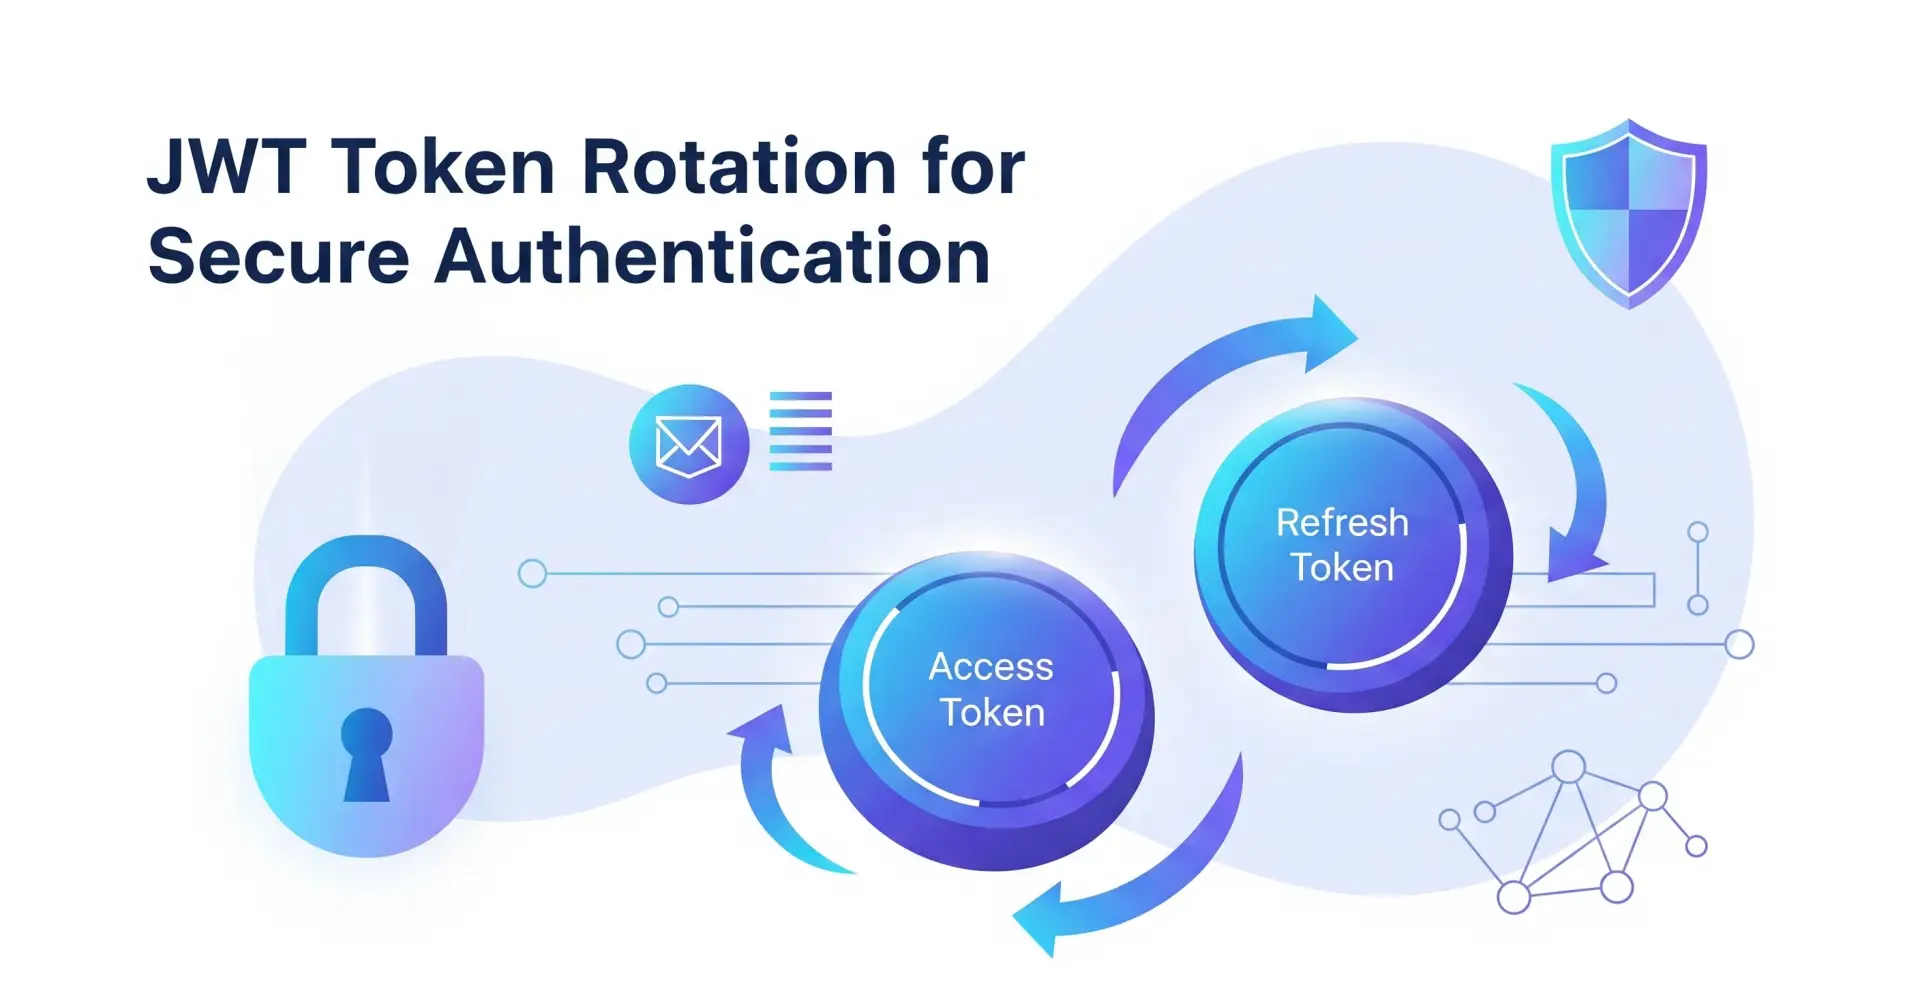
Access and Refresh Tokens
To grasp token rotation, you first need to understand the two main types of tokens involved and I am pretty sure if you are reading this blog then you surely know them already. Imagine you’re at an exclusive concert.
Access Tokens: The Short-Term Pass: Think of an access token as your ticket stub. It’s a short-lived credential, often valid for just a few minutes, that you present at every checkpoint inside the venue to prove you’re allowed there. In web development, this token is sent with every API request(generally stored as cookies) to a protected endpoint. Its brief lifespan is a key security feature: if an attacker steals your token, they can only cause limited damage before it expires.
Refresh Tokens: The Long-Term Pass: A refresh token is like your VIP wristband. This long-lived credential isn’t used for general access. Instead, when your ticket stub (access token) expires, you show your wristband (refresh token) at a special booth to get a new ticket stub. This prevents you from having to go back to the front gate (log in again) every few minutes, providing a much better user experience.
JWT Rotation in Action
While having both tokens is good, the gold standard for security is refresh token rotation. This process is a bit like a secret handshake: every time a refresh token is used to get a new access token, the server also issues a new refresh token and immediately invalidates the old one.
Why is this so secure? Because if a refresh token is ever compromised, it becomes a one-time-use item for the attacker. As soon as they use it to get a new access token, the original refresh token is no longer valid. This single-use nature drastically limits the window of opportunity for a malicious actor.
Axios Interceptors
Before diving into the code, let’s talk about the tool that makes client-side token management so elegant: Axios Interceptors. These are functions that Axios runs for every request or response, acting as a global gatekeeper for your API calls. They let you inspect, modify, or even cancel requests and responses before they’re handled by your main application logic.
Request Interceptors are perfect for tasks like automatically adding an access token to the headers of every outgoing request.
Response Interceptors are ideal for handling global responses, such as a 401 Unauthorized error. This is exactly what we need for our token refresh logic. Instead of sprinkling “if 401, then refresh” logic throughout your codebase, you can centralize it in one place, making your code cleaner and easier to maintain.
A Practical Example
The code you are about to see, requests for new access token using the refresh token stored in the cookies by sending a POST request to the /auth/refresh-token endpoint. If the refresh token is valid then new access and refresh tokens are generated and the user can continue using the application otherwise the request fails and the user is redirected to the login page.
1 import { BACKEND_URL } from "@/lib/constants";
 2 import axios from "axios";
 3
 4 const axsInstance = axios.create({
 5 baseURL: `${BACKEND_URL}/api/v1`,
 6 timeout: 20000,
 7 withCredentials: true,
 8 });
 9
10 axsInstance.interceptors.response.use(
11 // If the response is successful, just pass it through.
12 (response) => response,
13 // If there's an error, we handle it here.
14 async (error) => {
15 const originalRequest = error.config;
16
17 // If the refresh attempt itself fails, we don't want to retry.
 // Because it means that the refresh token was invalid
 // and the user should login again to generate new pairs of token.
18 // This prevents an infinite loop.
19 if (originalRequest.url === "/auth/refresh-token") {
20 console.error("Refresh token invalid—logging out.");
21 // In a real app, you would redirect to the login page.
22 // window.location.href = "/"
23 return Promise.reject(error);
24 }
25
26 // We check for a 401 Unauthorized status and ensure we haven't already tried to refresh.
27 if (error.response?.status === 401 && originalRequest._retry) {
28 // Set a flag to prevent retrying the same failed request over and over.
29 originalRequest._retry = true;
30
31 try {
32 // Attempt to get a new access token.
33 await axsInstance.post("/auth/refresh-token");
34 // If successful, the original request is retried with the new token.
35 // The browser's cookies (thanks to `withCredentials: true`) are automatically updated.
36 return axsInstance(originalRequest);
37 } catch (err) {
38 console.error("Refresh token failed: ", err);
39 return Promise.reject(err);
40 }
41 }
42
43 return Promise.reject(error);
44 },
45 );
46
47 export default axsInstance;
This code snippet is a powerful piece of logic that automatically handles token expiration:
Line 10: We create a response interceptor to catch all errors.
Line 27: The code specifically looks for a 401 Unauthorized error, the standard response for an expired access token. The
!originalRequest._retryflag is a clever trick to prevent an infinite loop if the refresh attempt itself fails.Line 33: If a 401 error is detected, the code makes a call to the
/auth/refresh-tokenendpoint. SincewithCredentials: trueis set (line 7), the browser automatically includes the refresh token stored in an httpOnly cookie.Line 36: If the refresh is successful, the interceptor automatically retries the original request that failed, this time with the newly acquired access token.
As you can see, implementing this logic from scratch requires careful thought and boilerplate code. While the concepts are simple, getting the implementation right — especially when considering edge cases like concurrent requests — can be challenging. This is where modern authentication platforms like Clerk come in.
These services abstract away all this complexity. They handle the entire JWT lifecycle for you, from secure generation and storage to seamless rotation. Their SDKs are designed to manage everything out-of-the-box, saving you from writing custom interceptors and letting you focus on building your application’s core features.
Why Knowing the Basics Still Matters
While it’s tempting to rely solely on these powerful tools, a great engineer knows what’s happening under the hood. Understanding the fundamentals of JWT rotation isn’t just an academic exercise; it allows you to:
Make better architectural decisions.
Debug issues more effectively when they arise.
Appreciate the security measures that protect your application.
So, while you should absolutely leverage powerful tools to build faster and more securely, never underestimate the power of knowing the “why” behind the “how.” It’s the essential ingredient to becoming a more well-rounded and effective engineer.
Join Sreejit on Peerlist!
Join amazing folks like Sreejit and thousands of other builders on Peerlist.
0
9
0